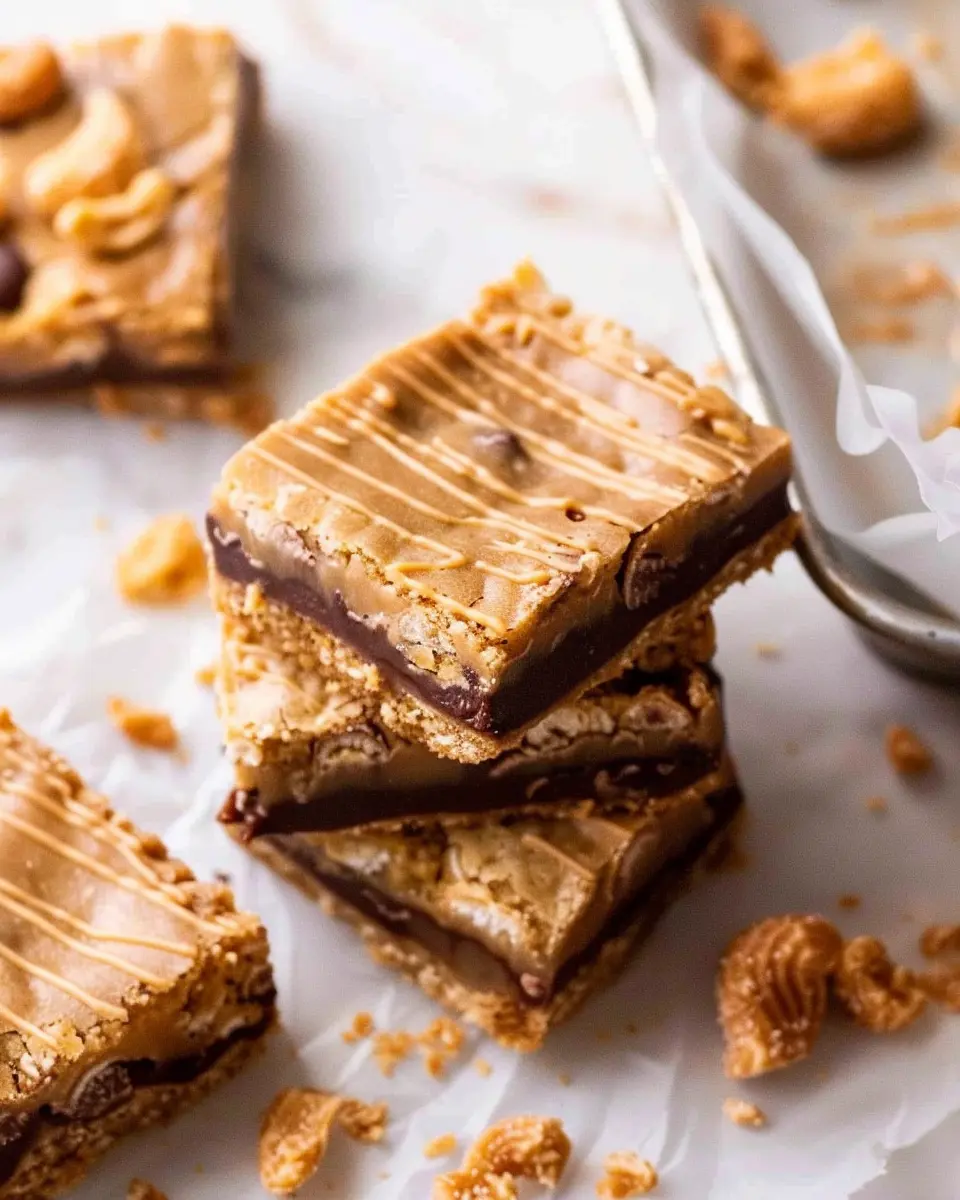
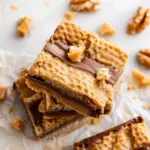
Introduction to Nutter Butter Bars
Nutter Butter Bars are an indulgent treat that perfectly combines the delightful crunch of peanut butter cookies with rich, creamy layers. If you’re a fan of sweet snacks that pack a flavor punch, these bars are likely to become your new favoritego-to for late-night cravings or as a dessert at gatherings. Unlike some complicated desserts, making Nutter Butter Bars is a breeze—perfect for busy young professionals who don’t always have hours to spare in the kitchen.
Why Nutter Butter Bars are Your New Favorite Treat
These bars have it all: they’re easy to prepare, delicious, and satisfy your sweet tooth without overwhelming your taste buds. Made primarily with Nutter Butter cookies, a beloved staple of the cookie aisle, these bars feature a melted peanut butter and chocolate layer that takes them to new heights. Each bite offers a wonderful balance of crispy and creamy textures that many desserts simply can’t achieve.
What makes this treat even better? You don’t need to be a master baker to whip them up! With just a few ingredients, you can create a rich, satisfying snack that will impress your friends. You might be wondering how peanut butter plays into a dessert like this. Well, according to health experts, peanut butter is packed with protein and healthy fats, making it not just a delicious add-in but also a better-for-you ingredient when sampled in moderation.
If you’re curious about creativity in the kitchen, consider swapping or adding layers of caramel or a sprinkle of sea salt to elevate these bars even further. Many fans of the dessert also enjoy pairing them with a glass of cold milk or a delicious alternative beverage like matcha latte or herbal tea.
With plenty of customization options and a classic flavor profile, Nutter Butter Bars are more than just another dessert; they’re likely to win a spot in your regular snack rotation. So, let’s dive into the easy steps of making these delightfully sweet bars for your next event or simply for a cozy night in. Check out this ingredient guide for ideas on the best Nutter Butter alternatives and additions!
Ingredients for Nutter Butter Bars
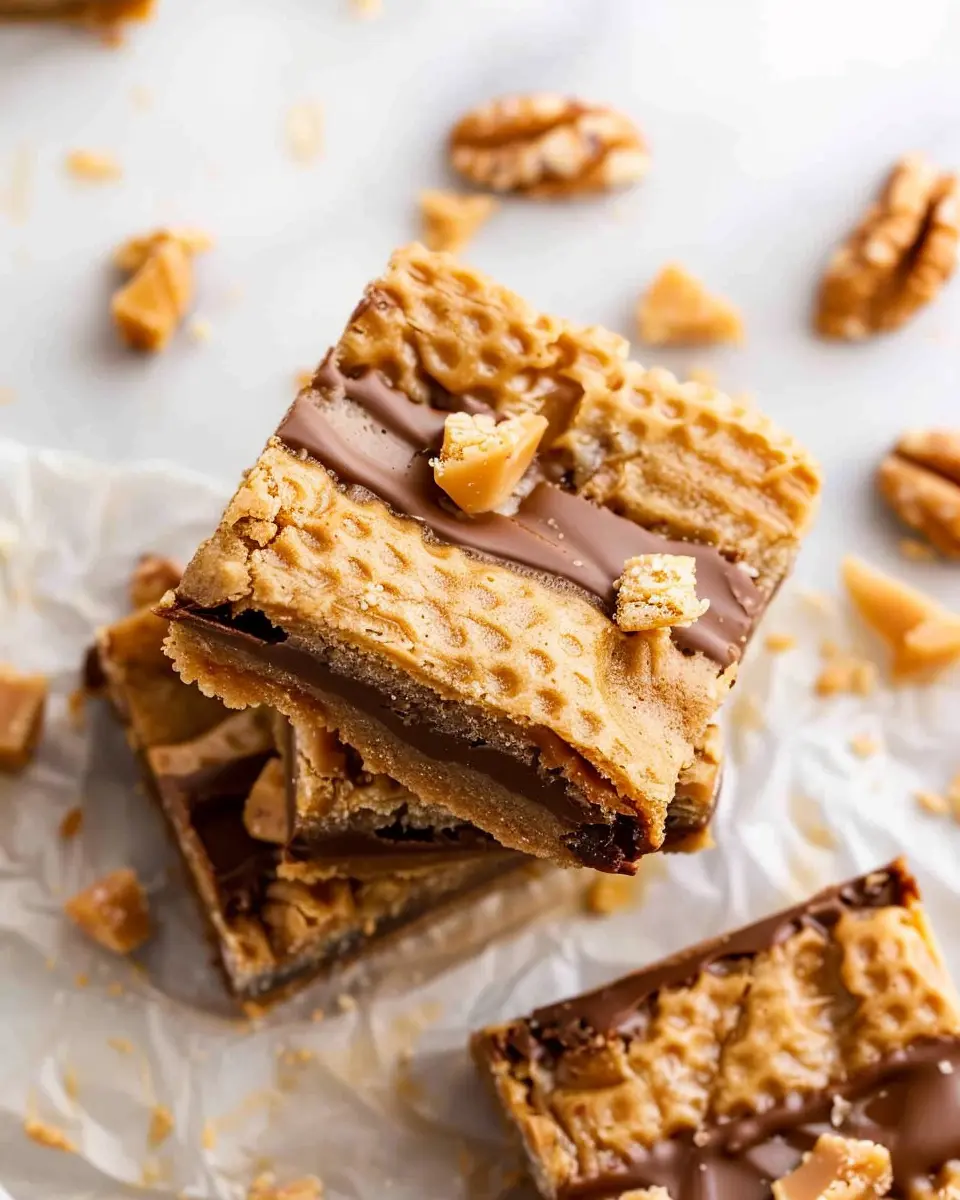
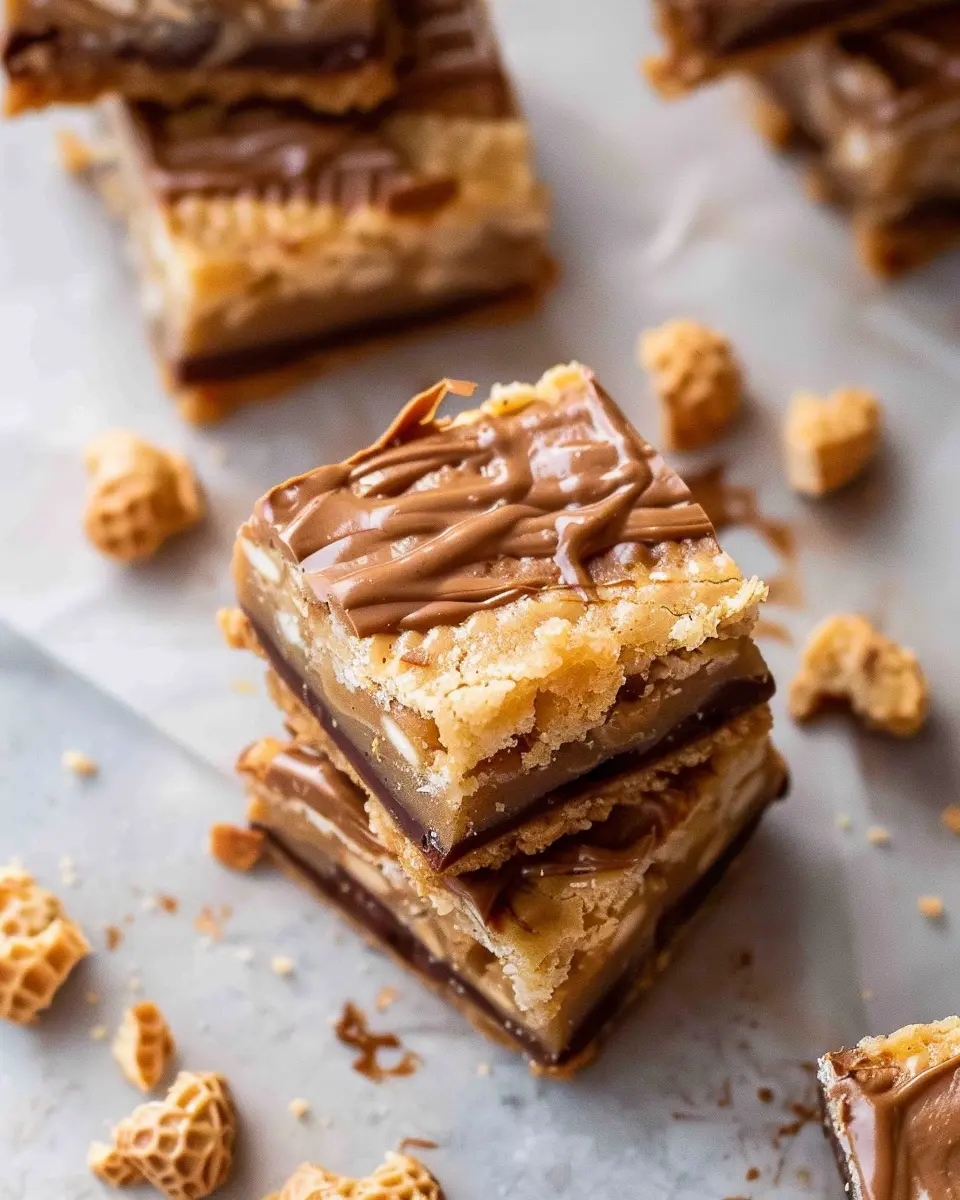
Essential ingredients for delicious Nutter Butter Bars
Creating the ultimate Nutter Butter Bars is simpler than you might think! Here’s what you need to make these delectable treats:
- Nutter Butter Cookies: The heart and soul of our bars, providing that signature peanut butter flavor.
- Cream Cheese: Adds a rich and creamy texture, balancing the sweetness beautifully.
- Peanut Butter: Use a good quality peanut butter—smooth or crunchy, depending on your preference!
- Powdered Sugar: This gives just the right amount of sweetness to the mixture.
- Chocolate Chips: Semi-sweet or dark chocolate chips are great for that indulgent touch.
These ingredients combine to create an irresistible dessert that won’t last long at your next gathering!
A few substitutes to consider
If you’re in a pinch or just curious about alternatives, here are some substitutions to keep in mind for your Nutter Butter Bars:
- Nut alternatives: Swap peanut butter with almond or cashew butter if allergies are a concern.
- Cream cheese alternatives: Greek yogurt can be a lighter substitute for a creamy texture.
- Sweetness adjustment: For a healthier option, use agave or maple syrup instead of powdered sugar.
Finding the right ingredients can elevate your baking experience. Check out this source for more inspiration on recipes and substitutions!
Preparing Nutter Butter Bars
Making nutter butter bars is an exciting culinary adventure that not only satisfies your sweet tooth but also impresses anyone lucky enough to enjoy them. Let’s walk through the steps to create this decadent treat together. You’ll find the process simple and, dare I say, fun!
Gather and prep your ingredients
Before you dive into mixing and baking, it’s crucial to gather all your ingredients. This makes the entire process smoother and more enjoyable.
- Key ingredients for Nutter Butter Bars:
- 1 package of Nutter Butter cookies
- 1 cup creamy peanut butter
- 1 cup granulated sugar
- 1/2 cup unsalted butter (softened)
- 2 cups mini marshmallows
- 1/2 cup chocolate chips (for the topping)
Start by preheating your oven to 350°F (175°C). This way, you’re ready to pop those bars in once you’re done mixing. Don’t forget to line an 8×8 inch baking dish with parchment paper for easy removal later.
Combine wet ingredients for a smooth mixture
In a mixing bowl, combine the peanut butter, butter, and sugar. You’ll want to use a handheld mixer or a whisk to ensure everything blends together smoothly. If you have a stand mixer, that one can work wonders too!
Why is this step important? Mixing these ingredients properly creates a creamy base for your bars, which helps them set perfectly when you bake. Try to scrape down the sides of the bowl as you mix to incorporate every bit of that delicious peanut butter goodness. Once it’s well mixed, it should resemble a thick batter.
Add in the dry ingredients for a perfect consistency
After you’ve achieved that luscious wet mixture, it’s time to add in the dry ingredients. Gently fold in the Nutter Butter cookies (chop them coarsely for a mix of texture), followed by the marshmallows.
This is where the magic starts to happen, as you’ll see how the cookies absorb some of the moisture and flavor from your peanut butter mixture. Remember, you want everything to blend yet maintain some yummy cookie chunks within the bars.
Spread and layer for a decadent treat
Transfer your combined mixture into the lined baking dish. Use a spatula to spread the mixture evenly, pressing down gently to ensure it’s an even layer. This step helps your nutter butter bars hold together when you’re cutting them later.
For an extra layer of indulgence, sprinkle chocolate chips on top before baking. They’ll melt and create a gooey layer that becomes the crown jewel of your bars. Resist the urge to eat the raw batter—though I know it’s preposterously tempting!
Bake and watch the magic happen
Now comes the best part—baking! Place your tray in the preheated oven and wait patiently (well, as patient as you can be). Bake for about 20-25 minutes until the edges are golden brown. A light golden color will indicate that your bars are ready!
Once out, let them cool in the pan for a bit, then transfer them to a wire rack. This cooling period is crucial as it solidifies the texture, making slicing easier and the bars more enjoyable overall.
And there you have it! With just a few steps, you’ve created delightful nutter butter bars. They’re perfect for sharing, but let’s be real—you might want to save a few for yourself. If you’re looking for more fun baking ideas, check out this peanut butter dessert guide that showcases even more delicious possibilities.
And remember, the best part about these bars is that they’re not just a treat; they’re a delightful experience to create! Enjoy every bite, and consider sharing your creations on social media. Happy baking!
Variations on Nutter Butter Bars
Nutter Butter Bars with a Twist: Swap in Different Cookies
While the classic Nutter Butter Bars are delicious on their own, why not have a little fun in the kitchen? Switch out the Nutter Butter cookies for other favorites! Try using Oreo cookies for a rich, chocolatey flavor or Gingersnap cookies for a spicy autumn twist. You can also experiment with gluten-free alternatives like Almond Flour Cookies to cater to different dietary needs. Each swap brings its unique flavor and texture, so feel free to tailor your bars to match what you have on hand.
Add a Dash of Spice: Cinnamon or Sea Salt Variations
For an extra layer of flavor, consider adding spices to your Nutter Butter Bars. A sprinkle of cinnamon in the crust can create a warm, aromatic backdrop that elevates the peanut butter taste. If you’re looking for a balance of sweetness and savory, a light dusting of sea salt on top offers a delightful contrast and makes the sweet flavors pop. Not only does this play on the taste, but it also adds a gourmet touch that might just impress your friends.
By thinking outside the box, you can elevate your Nutter Butter Bars from ordinary to extraordinary. There’s really no end to the variations you can create! Feel free to explore more flavor combinations and let us know your favorites. Check out additional sources for inspiration, like Serious Eats or Food Network, where culinary creativity is celebrated. After all, cooking should be a fun and personal experience!
Cooking Tips and Notes for Nutter Butter Bars
Importance of Ingredient Temperature
When preparing your Nutter Butter Bars, it’s essential to consider the temperature of your ingredients. Room temperature butter blends more smoothly with your other ingredients, ensuring a rich and creamy texture. If your butter is too cold, you might end up with uneven mixing, affecting the final outcome. Take a moment to pull your butter out ahead of time for optimal results.
Common Pitfalls to Avoid for Perfect Bars
Creating perfect Nutter Butter Bars is all about attention to detail. Here are a few common pitfalls to watch out for:
- Overmixing: It can lead to tough bars. Mix just until combined.
- Underbaking: A little gooeyness in the middle is okay, but too much can spoil the texture. Aim for a slight golden edge.
- Cooling Time: Don’t rush the cooling process; letting them set properly gives you that ideal consistency.
For additional tips, check reputable sources like Epicurious or Serious Eats, which offer fantastic advice on baking techniques!
With these straightforward tips, your Nutter Butter Bars will be a delightful treat that impresses everyone! Enjoy experimenting in the kitchen!

Serving Suggestions for Nutter Butter Bars
Delightful Pairings: Coffee or Dessert Alternatives
When it comes to enjoying your Nutter Butter Bars, nothing elevates these sweet treats quite like a delicious beverage. Consider pairing them with a rich cup of coffee—its bold flavors complement the creamy peanut butter beautifully. If you prefer a refreshing alternative, a glass of chilled almond milk or coconut milk adds a delightful twist. Not to mention, these drinks are also excellent for dipping those bars!
Creative Serving Ideas for Gatherings
Whether you’re hosting a casual get-together or a lunch with friends, your Nutter Butter Bars can shine with a little extra flair:
- Dessert Platter: Arrange a selection of bars along with fresh fruit, nuts, and perhaps even a few chocolate-covered treats for a colorful display.
- Mini Dessert Shooters: Cut the bars into small pieces and layer them in shot glasses with whipped cream and crumbled nuts for an interactive dessert experience.
- Themed Celebration: If you’re celebrating a special occasion, consider decorating the tops of your bars with seasonal toppings or fun sprinkles to match the theme of your event.
These creative serving suggestions not only impress your guests but also make every bite a delightful experience. For more ideas on dessert pairings and tips, check out Jessica Gavin’s blog for inspiration!
Time Breakdown for Nutter Butter Bars
Preparation Time
Getting started with your Nutter Butter Bars is quick and easy! You’ll need about 15 minutes to gather your ingredients, crush the cookies, and mix everything together. Having your kitchen tools ready will make this process even smoother, so be sure to have a mixing bowl, spatula, and a baking pan on hand.
Baking Time
Once your mixture is ready and in the pan, it’s time to pop it in the oven for about 25 minutes. You’ll want to keep an eye on them to achieve that perfect golden-brown finish. Trust me, the smell wafting through your kitchen will be irresistible!
Total Time
In total, you’re looking at just around 40 minutes from start to finish. This means you could whip up these delightful Nutter Butter Bars during a lunch break or after work, making them a fantastic option for a quick, sweet treat. For some tips on making the most of your baking time, check out this handy guide on baking efficiency!
Nutritional Facts for Nutter Butter Bars
When treating yourself to Nutter Butter Bars, it’s good to know what you’re munching on. Here’s a quick breakdown of the nutritional elements for a delightful serving.
Calories
These bars pack about 250 calories per piece, making them a lovely treat without completely derailing your day.
Protein
With around 4 grams of protein, Nutter Butter Bars provide a little boost to your snacking experience. While they won’t be your main protein source, they can certainly satisfy your craving for something sweet without sacrificing all your nutrition goals.
Sodium
In terms of sodium, expect about 150 mg per bar. It’s not too high, but always consider this if you’re watching your intake for health reasons.
For more insight, check out this nutrition guide that covers essential tips on balancing treats with a healthy lifestyle. Enjoy your baking adventure!
FAQs about Nutter Butter Bars
How can I store Nutter Butter Bars for freshness?
To keep your Nutter Butter Bars fresh and delicious, store them in an airtight container. This will help prevent them from drying out and keep their delightful texture intact. Ideally, these bars should be kept at room temperature for up to a week. If you’re in a particularly warm and humid climate, consider refrigerating them to ensure they maintain their firmness. A note from the kitchen: if you’re using ingredients like peanut butter or cream cheese, refrigeration is your best friend for extending shelf life!
Can I freeze Nutter Butter Bars?
Absolutely! Freezing Nutter Butter Bars is a great way to enjoy them later. Simply wrap them tightly in plastic wrap or foil and place them in a freezer-safe container. When you’re ready for a treat, let them thaw at room temperature or pop them in the microwave for a few seconds. They should retain their deliciousness for about three months in the freezer. Just be sure to label the container to know when they were made, so you can savor them at their best!
Are there any allergen considerations for this recipe?
Yes, it’s important to keep possible allergens in mind. The primary ingredients in Nutter Butter Bars include peanut butter, which is a common allergen, and they may also contain gluten from cookies. Always check ingredient labels for potential cross-contamination, especially if you’re cooking for someone with allergies. If you need an alternative, consider using almond butter or gluten-free cookies to adapt the recipe.
For more information on common food allergens, you can visit the FDA’s guidance on food allergens for additional resources. Always prioritize safety in the kitchen for a worry-free baking experience!
Conclusion on Nutter Butter Bars
Embracing Homemade Treats and the Joy They Bring
In today’s fast-paced world, there’s something truly special about creating your own sweet delights like nutter butter bars. The process of making these treats not only brings a sense of accomplishment but also fills your home with the delightful aroma of baking. Whether you’re preparing them for a cozy gathering or just for yourself, homemade bars offer a comforting taste of nostalgia.
Crafting nutter butter bars allows you to personalize them to your liking, perhaps with a sprinkle of sea salt or a drizzle of dark chocolate. Plus, sharing your creations is a great way to connect with friends and family. So, gather your ingredients and enjoy the sweet journey that leads to delicious homemade goodness. For more tips on making delectable treats, check out Food Network for inspiration!
PrintNutter Butter Bars: Indulgent Treat for Homemade Happiness
A delightful treat that brings happiness to your homemade desserts.
- Prep Time: 15 minutes
- Cook Time: 20 minutes
- Total Time: 35 minutes
- Yield: 12 bars 1x
- Category: Dessert
- Method: Baking
- Cuisine: American
- Diet: Vegetarian
Ingredients
- 1 cup Nutter Butter cookies, crushed
- 1/2 cup unsalted butter, melted
- 1 cup cream cheese, softened
- 1 cup powdered sugar
- 1 cup chocolate chips
- 1/4 cup peanut butter
Instructions
- Preheat the oven to 350°F (175°C).
- Mix crushed Nutter Butter cookies and melted butter in a bowl.
- Press the mixture into a greased baking pan to form the crust.
- In another bowl, blend cream cheese and powdered sugar until smooth.
- Spread the cream cheese mixture over the crust.
- In a small saucepan, melt chocolate chips and peanut butter together over low heat.
- Pour the chocolate mixture over the cream cheese layer.
- Bake for 20 minutes, then allow to cool before cutting into bars.
Notes
- For an extra crunch, top with crushed peanuts.
- Experiment with different kinds of chocolate, such as dark or white chocolate.
Nutrition
- Serving Size: 1 bar
- Calories: 250
- Sugar: 15g
- Sodium: 150mg
- Fat: 15g
- Saturated Fat: 7g
- Unsaturated Fat: 5g
- Trans Fat: 0g
- Carbohydrates: 30g
- Fiber: 1g
- Protein: 4g
- Cholesterol: 30mg
Keywords: Nutter Butter Bars, dessert, homemade treats