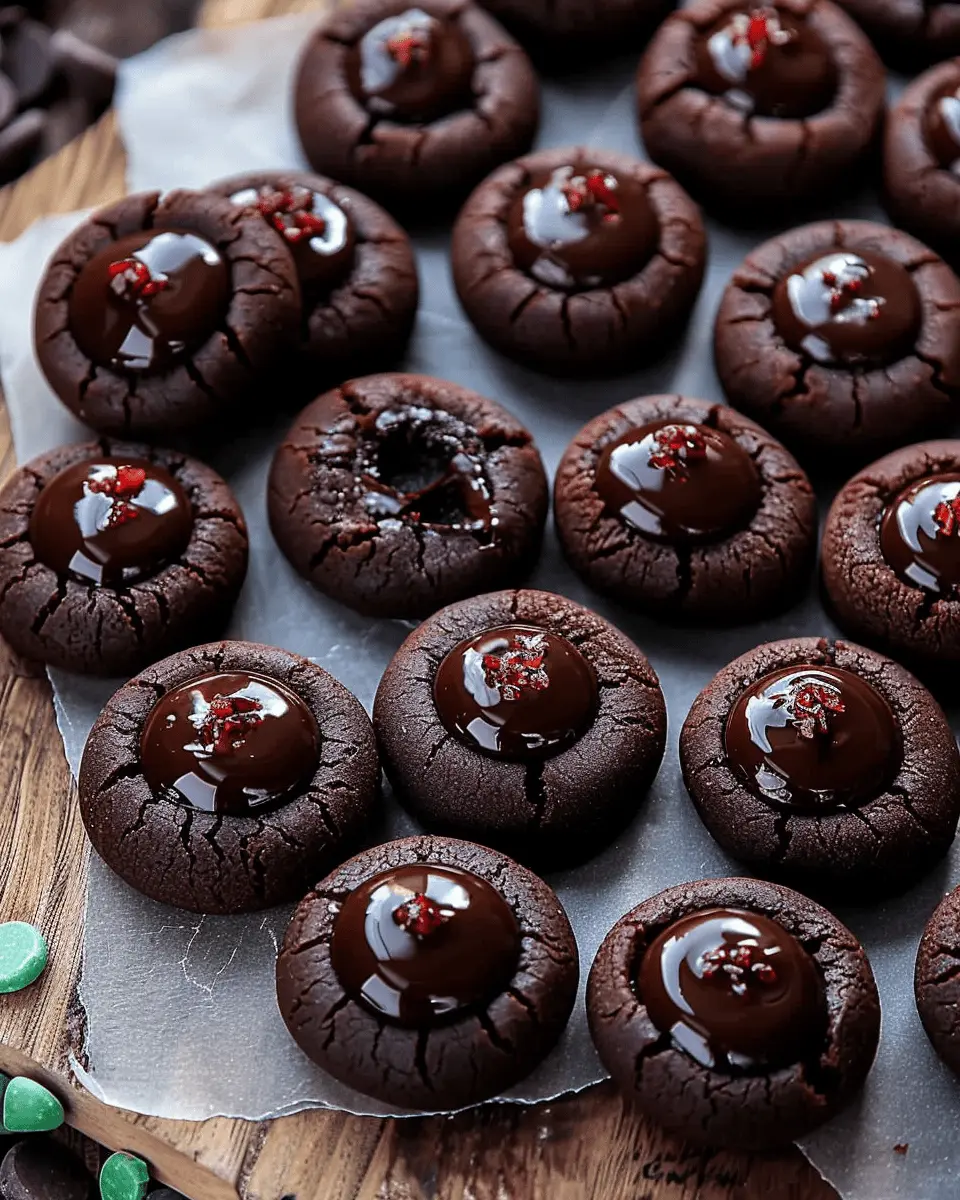
Introduction to Chocolate Thumbprint Cookies
Imagine sinking your teeth into a tender, rich chocolate cookie that melts in your mouth, leaving a delicious burst of sweetness from a dollop of your favorite jam or chocolate ganache. Enter Chocolate Thumbprint Cookies—the ultimate treat that not only satisfies your sweet tooth but also invites creativity into your baking routine.
Why choose chocolate thumbprint cookies?
So, why should you whip up a batch of these delightful cookies? For starters, Chocolate Thumbprint Cookies are incredibly versatile. You can customize the filling to suit your taste: from classic raspberry jam to indulgent salted caramel or even a luscious peanut butter filling. This adaptability makes them perfect for various occasions, whether it’s a cozy gathering with friends or a festive holiday celebration.
One unique aspect of these cookies is their easy preparation, making them approachable even for novice bakers. You don’t need any extravagant equipment—just your hands and a baking sheet. Plus, the process is immensely satisfying! Picture this: rolling dough into balls and gently creating a thumbprint in the center. It’s a surprisingly therapeutic experience, earning you a moment of mindfulness in an otherwise hectic day.
Furthermore, these cookies offer an opportunity to impress. Who wouldn’t be in awe of a beautifully arranged plate of cookies where each one is a unique work of art? You can even engage in a little friendly competition with your friends by making a batch of these cookies in different flavors and hosting a tasting session.
Nutritionally, while any cookie should ideally be an occasional treat, chocolate does come packed with antioxidants, contributing to your overall well-being. Moreover, studies have shown that moderate dark chocolate consumption may have heart-health benefits, which gives you just another reason to indulge.
If you’re keen on embracing culinary experimentation, check out this resource for more baking techniques. You can elevate your Chocolate Thumbprint Cookies not only in taste but also in visual appeal. Get ready to finger-paint your way through the kitchen!
Ingredients for Chocolate Thumbprint Cookies
Essential Ingredients for the Cookies
Creating delicious Chocolate Thumbprint Cookies begins with a handful of essential ingredients that you likely already have in your pantry. Here’s what you’ll need:
- All-purpose flour: The backbone of your cookies, providing structure.
- Unsweetened cocoa powder: To achieve that rich chocolate flavor.
- Granulated sugar: For sweetness and a delightful texture.
- Brown sugar: Adds moisture and depth to your cookies.
- Butter: Use unsalted for the best control over flavor.
- Egg yolks: These lend richness and help bind your dough.
- Vanilla extract: A touch of vanilla enhances all the flavors.
- Baking powder and salt: To ensure your cookies rise and taste balanced.
If you need more tips on flour types or substitution ideas, check out resources from King Arthur Baking.
Ingredients for the Chocolate Ganache
No Chocolate Thumbprint Cookies are complete without a rich chocolate ganache to fill those delightful indents. Gather these:
- Heavy cream: The base of your ganache, creating a luscious texture.
- Semi-sweet chocolate: For a perfect balance of sweetness and bitterness.
- Butter: A small amount will add gloss and richness to the ganache.
Making ganache is incredibly simple, but mastering the consistency can take practice. Consider referring to Serious Eats for different techniques and tips on getting that velvety finish just right.
By gathering these essential ingredients, you’re already on your way to making mouthwatering Chocolate Thumbprint Cookies that are sure to impress!
Preparing Chocolate Thumbprint Cookies
If you’re craving a sweet treat that marries rich chocolate with a delightful surprise in the center, you’ll love diving into the wonderful world of Chocolate Thumbprint Cookies. They’re not only easy to make, but they also pack a delightful punch that can impress anyone. Let’s break down the process step by step!
Gather and measure your ingredients
Before anything else, you’ll want to gather your ingredients. Here’s what you need:
- 1 cup unsalted butter (softened)
- 3/4 cup granulated sugar
- 1 cup brown sugar (packed)
- 2 large egg yolks
- 2 teaspoons vanilla extract
- 2 cups all-purpose flour
- 1/2 cup unsweetened cocoa powder
- 1 teaspoon baking powder
- 1/4 teaspoon salt
- 1 cup chocolate chips (for ganache topping)
Take the time to measure them accurately; this can drastically affect the texture and flavor of your Chocolate Thumbprint Cookies.
Combine the dry ingredients
In a separate bowl, whisk together the flour, cocoa powder, baking powder, and salt. This is a crucial step as it helps to evenly distribute these ingredients throughout the dough. Did you know that combining dry ingredients before mixing them with wet ones can help achieve a more uniform texture?
Cream the butter and sugars
In a large mixing bowl, using a hand mixer or stand mixer, cream together the softened butter, granulated sugar, and brown sugar until the mixture is light and fluffy. This should take about 2-3 minutes. The more air you incorporate at this stage, the lighter your cookies will be. Plus, the aroma of butter and sugar mixing together is simply divine!
Mix in the egg yolks and vanilla
Next, add in the egg yolks and vanilla extract. Beat until everything is well combined. The egg yolks add richness to the cookies, while the vanilla extract brings out the chocolate flavor in a way that’s just irresistible!
Incorporate dry ingredients to form the dough
Begin to add in your combined dry ingredients gradually. Use a spatula or your mixer on low speed to help incorporate everything into a cohesive dough. Don’t overmix; you want just enough mixing to ensure all ingredients are combined without losing that delightful texture.
Shape the dough into balls and create indents
Once your dough is ready, it’s time to shape it! Scoop about a tablespoon of dough and roll it into a ball. Place these balls on a parchment-lined baking sheet (this makes for easy cleanup!) and use your thumb to gently press an indent in each one. This will create the perfect cavity for your chocolate ganache later.
Chill the dough before baking
Chilling the dough is essential for achieving the best texture. Pop your baking sheet into the fridge for at least 30 minutes. This time allows the flavors to meld and helps the cookies retain their shape during baking.
Bake the cookies until perfect
Preheat your oven to 350°F (175°C). Once the dough is chilled, bake your cookies for about 12-15 minutes. You want them to look set but still slightly soft in the center; they will continue to firm up as they cool.
Prepare the chocolate ganache
While your cookies are baking, prepare the chocolate ganache by heating 1 cup of heavy cream until it’s simmering. Pour it over the chocolate chips in a bowl and let it sit for a minute, then stir until smooth. It’s seriously the best part—rich, velvety, and perfect for filling those thumbprint indents.
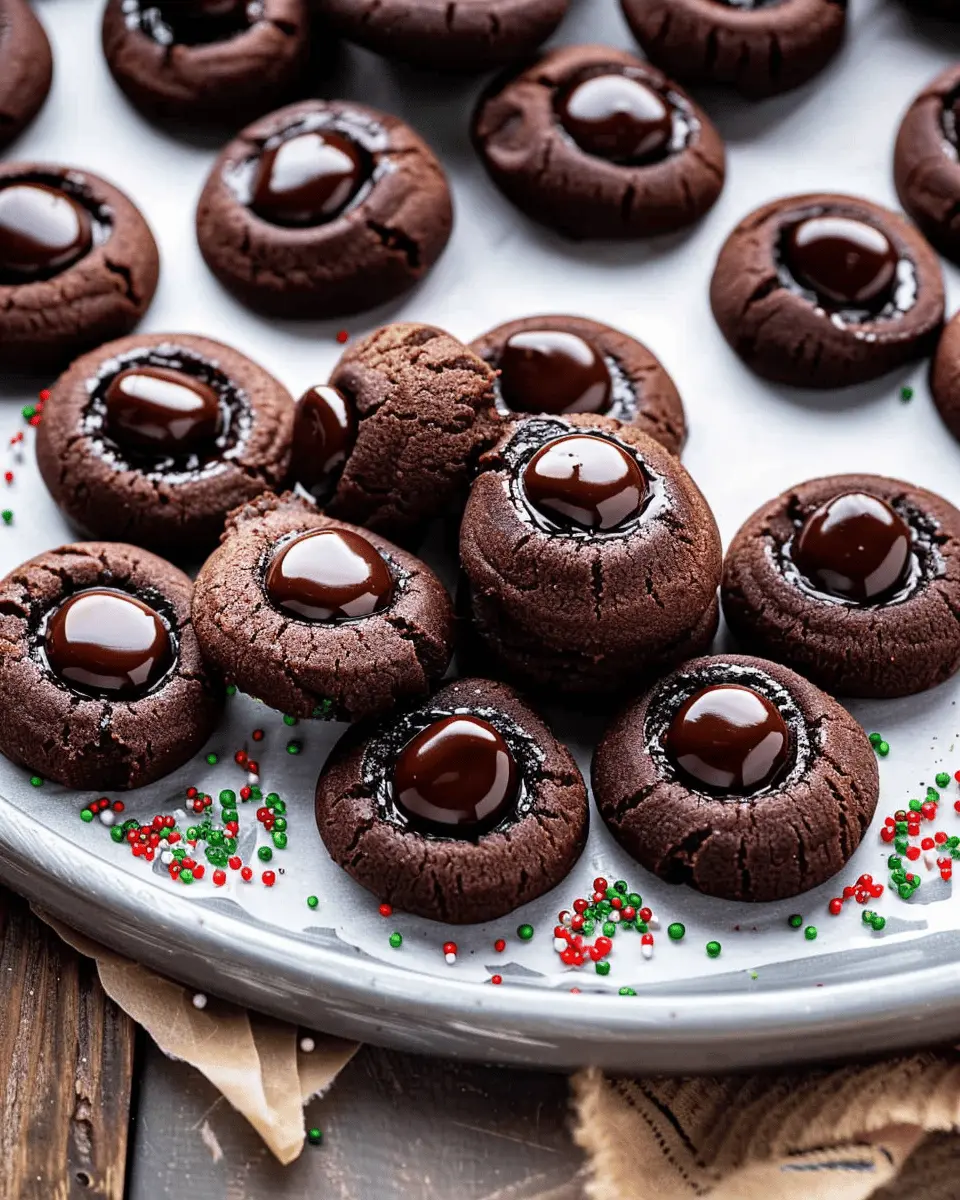
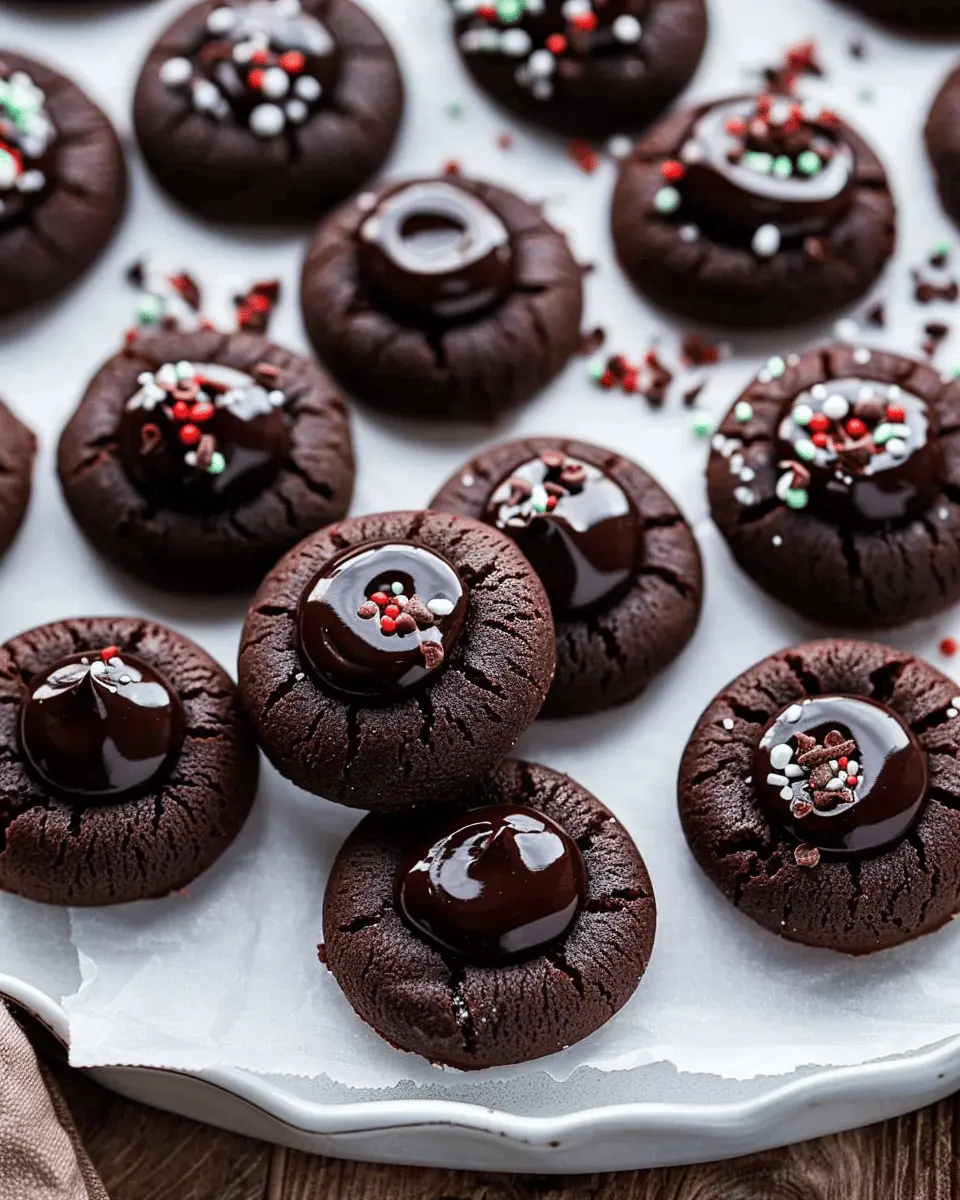
Assemble the cookies with ganache
Once your cookies are completely cool, carefully fill each indent with your luscious chocolate ganache. You can also use a piping bag for a neat finish! Serve your Chocolate Thumbprint Cookies at room temperature or slightly chilled for a delightful treat that’s sure to please.
Now that you know the steps, it’s time to roll up your sleeves and bake! You’ve got this, and your friends will be begging for the recipe. Enjoy your baking!
Variations on Chocolate Thumbprint Cookies
When it comes to chocolate thumbprint cookies, the possibilities are truly endless! These delightful treats not only have a rich chocolate base but also offer a fun canvas for flavors and textures. Let’s explore a few variations that can elevate your baking game.
Nutty Chocolate Thumbprints
If you’re a fan of textures, you’ll love nutty chocolate thumbprint cookies. Add chopped nuts like pecans, walnuts, or hazelnuts into the dough for that satisfying crunch. Not only do they enhance the flavor, but nuts like these also pack in protein and healthy fats. For an extra nutty kick, toss a few on top of the chocolate filling! Check out this Nutty Baking Guide for tips on selecting and using nuts in cookies.
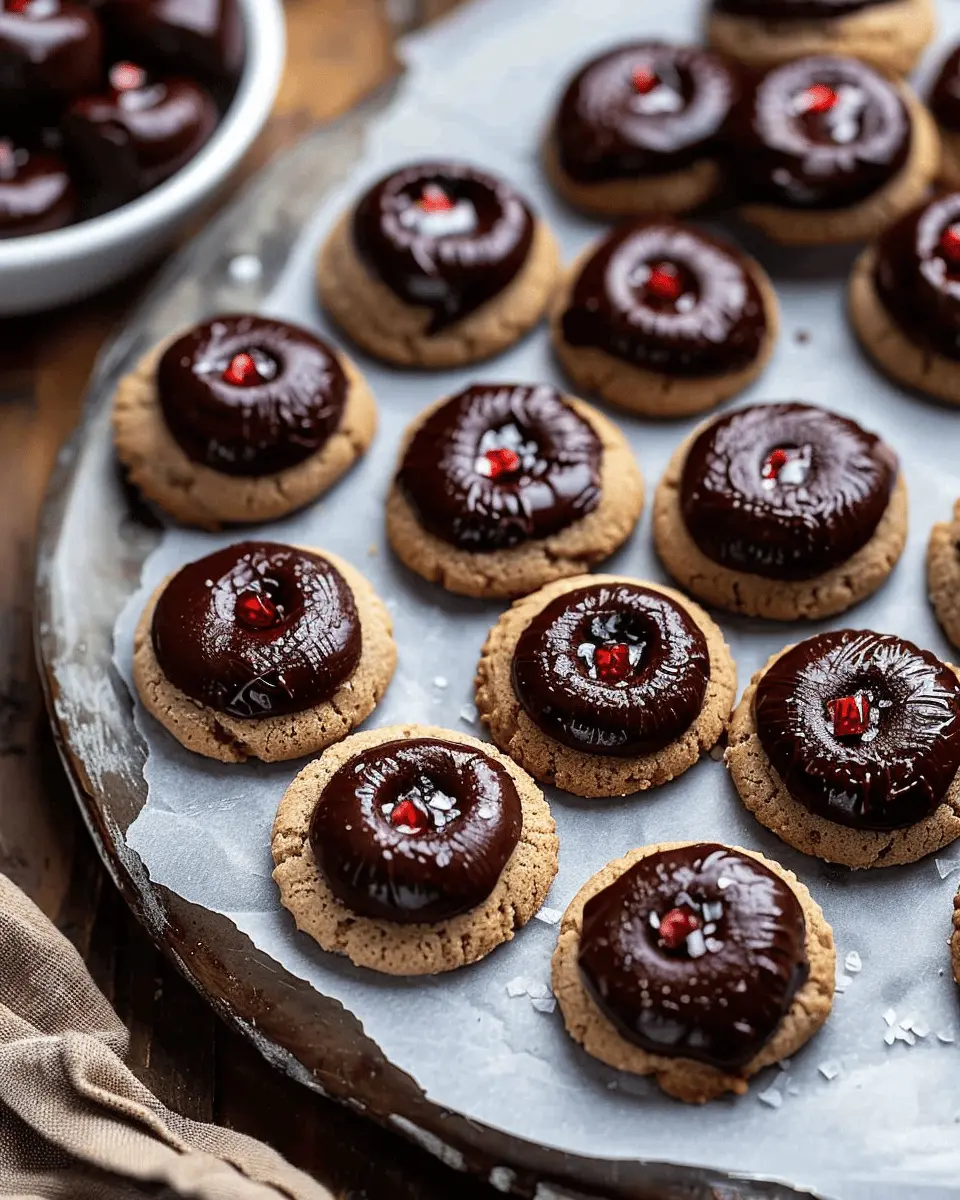
Chocolate Thumbprints with Fruit Preserves
Want to bring a fruity twist to your chocolate thumbprint cookies? Fill those lovely indents with fruit preserves! Think raspberry, apricot, or even zesty lemon curd. These preserves balance the richness of the chocolate and add a splash of color to your cookies. Taking a bite of a chocolate cookie paired with fruity goodness is like experiencing a delicious dance of flavors on your palate. For a deeper dive into fruit-based fillings, check out this Preserves & Spreads Resource.
Gluten-Free Chocolate Thumbprint Cookies
For those following a gluten-free lifestyle, you’re in luck! Simply swap regular flour with gluten-free options like almond flour or oat flour. These alternatives not only cater to your dietary needs but also lend unique flavors to your chocolate thumbprint cookies. Always ensure your ingredients are certified gluten-free for safety. For additional guidance, visit this Gluten-Free Baking Resource.
Experiment with these variations, and take your chocolate thumbprint cookies to new delicious heights! Happy baking!
Baking notes for Chocolate Thumbprint Cookies
Importance of Accurate Measurements
Precision is key in baking, especially when creating Chocolate Thumbprint Cookies. Too much flour can lead to dry, crumbly cookies, while too little can result in overly soft dough. Invest in a digital scale or make use of measuring cups and spoons to ensure that your ingredients are accurately measured. This will help you achieve that perfect cookie consistency every time.
Tips for Achieving the Perfect Texture
Achieving the ideal texture for your Chocolate Thumbprint Cookies hinges on a few simple techniques:
- Room Temperature Ingredients: Make sure your butter and eggs are at room temperature; this helps create a smoother dough.
- Chill the Dough: Refrigerate your dough for at least 30 minutes before baking. This will prevent the cookies from spreading too much in the oven.
- Use Quality Chocolate: Opt for high-quality chocolate for your filling. It elevates the entire cookie and makes a noticeable difference in taste.
By incorporating these tips, you’ll be well on your way to baking delicious, melt-in-your-mouth cookies! For more insights, check out Baker’s Journal for expert baking advice and recipes.
Serving suggestions for Chocolate Thumbprint Cookies
Perfect Beverage Pairings
When serving your delightful Chocolate Thumbprint Cookies, think about what beverages will enhance their rich, chocolatey flavor. A steaming cup of coffee is a classic choice that balances out the sweetness. For those who prefer a colder option, try pairing them with a glass of almond milk—its nuttiness complements the chocolate beautifully. If you’re feeling adventurous, consider a smooth chai latte. The spices in chai elevate the cookies’ chocolate without overpowering them.
Creative Presentation Ideas
How you present your Chocolate Thumbprint Cookies can elevate your dessert game. Consider stacking them on a beautiful cake stand, adding a sprinkle of powdered sugar on top for an elegant touch. To make them even more festive, use colorful parchment paper to line your serving tray. For something quirky, set them in mini cupcake liners and place them in a decorative box.
For extra inspiration, check out Martha Stewart’s entertaining tips on dessert presentation. After all, we eat with our eyes first!
Tips for Making Perfect Chocolate Thumbprint Cookies
Monitoring Baking Time
One of the most crucial aspects of baking Chocolate Thumbprint Cookies is keeping a close eye on the baking time. Every oven is different, and sometimes recipes can be off by a few minutes. Start checking your cookies about two minutes before the timer goes off. Look for a slight firmness around the edges and a soft center; this means they’re likely perfect!
Additionally, if you notice an uneven bake, consider rotating your baking sheet halfway through. This simple step can help achieve that golden-brown color and soft, chewy texture we all crave.
Adjusting for Altitude or Humidity
Baking at high altitudes or during humid weather can throw a wrench in your Chocolate Thumbprint Cookies plan. If you live in a high-altitude area, you may need to slightly reduce the sugar and increase the flour to maintain a balanced dough. For instance, adding an extra tablespoon of flour can help keep your cookies from spreading too much in the oven.
On the flip side, humid weather can make your dough too sticky. To counter this, try chilling your dough for 30-60 minutes before baking to help it firm up.
If you want more detailed tips tailored to your region, check out resources like King Arthur Baking’s Guide for practical advice on baking under various conditions.
With these tips, you’ll be on your way to baking Chocolate Thumbprint Cookies like a pro! Happy baking!
Time details for Chocolate Thumbprint Cookies
Preparation time
Making Chocolate Thumbprint Cookies is a delightful endeavor that only takes about 15 minutes. It’s a perfect way to spend some quality time in the kitchen, whether you’re treating yourself or whipping up a batch for friends.
Baking time
Once your dough is ready, pop those cookies into the oven for about 12-15 minutes. Keeping an eye on them as they bake will reward you with perfectly golden edges.
Total time
In less than 30 minutes, you can achieve cookie perfection. From prep to plate, these mouthwatering Chocolate Thumbprint Cookies will be ready to savor in no time.
For more detailed cooking tips, feel free to explore resources like America’s Test Kitchen or Serious Eats.
Nutritional Information for Chocolate Thumbprint Cookies
Calories
Indulging in Chocolate Thumbprint Cookies doesn’t have to feel guilty! Each cookie typically contains around 120 calories. Keep in mind that portion size can change the calorie count, especially if you decide to whip up a double batch for sharing.
Sugar Content
One of the most delightful aspects of these cookies is their sweetness. On average, each cookie packs about 8 grams of sugar. This provides that nice balance between rich cocoa and satisfying sweetness, making them the perfect treat after a long day.
Dietary Considerations
When it comes to dietary preferences, these Chocolate Thumbprint Cookies can be quite accommodating! They can be easily tailored for various diets:
- Gluten-Free: Substitute regular flour for gluten-free alternatives.
- Dairy-Free: Use dairy-free chocolate and margarine.
Need more dietary insights? Check out sources like NutritionData for detailed breakdowns! Enjoy your baking!
FAQs about Chocolate Thumbprint Cookies
Can I make the dough ahead of time?
Absolutely! Making the dough for your Chocolate Thumbprint Cookies ahead of time is a great way to save yourself some hassle when it’s time to bake. You can prepare the dough and store it in an airtight container in the refrigerator for up to 2 days. Alternatively, you can also freeze the dough. Just shape it into a log, wrap it tightly in plastic wrap, and transfer it to a freezer bag. When you’re ready to bake, simply thaw it in the fridge overnight, then roll the cookie balls, thumbprint them, and fill them before popping them in the oven!
How can I store leftover cookies?
To keep your Chocolate Thumbprint Cookies fresh and delicious, store them in an airtight container at room temperature. They’ll stay yummy for about a week—but let’s be honest, they’re usually gone way before that! If you want to keep them for longer, you can freeze the cookies in a single layer on a baking sheet, then transfer them to a freezer bag once they’re solid. You can enjoy them later by letting them thaw at room temperature.
Are there alternative fillings for thumbprint cookies?
Absolutely! While traditional thumbprint cookies often feature fruit jams or chocolate ganache, the world of fillings is your oyster! Consider these options:
- Nut butters like almond or hazelnut
- Cream cheese frosting for a tangy twist
- Dulce de leche for a rich flavor
- A drizzle of caramel
Experimenting with various fillings can create a unique twist on your Chocolate Thumbprint Cookies. For more inspiration, check out this creative cookie fillings guide. Your taste buds will thank you!
Conclusion on Chocolate Thumbprint Cookies
Final thoughts and encouragement to bake
As we’ve explored the delightful world of Chocolate Thumbprint Cookies, it’s clear that these treats are more than just a dessert; they’re a canvas for creativity. Whether you’re opting for a rich chocolate ganache or a vibrant fruit jam, the flavors are boundless. Don’t be shy—experiment!
Baking these cookies is a wonderful way to elevate your skills and satisfies those sweet cravings. Plus, sharing them with friends or enjoying them at home can create cherished memories. So gather your ingredients, roll up your sleeves, and indulge in the joy of baking. Your taste buds will thank you! If you’re looking for more baking inspiration, check out resources on Food Network or Bon Appétit. Happy baking!
PrintChocolate Thumbprint Cookies: The Best Indulgent Treat for Any Occasion

These Chocolate Thumbprint Cookies are the ultimate indulgent treat, perfect for any occasion. Soft, rich, and filled with a luscious chocolate ganache, they are sure to impress!
- Prep Time: 30 minutes
- Cook Time: 15 minutes
- Total Time: 45 minutes
- Yield: 24 cookies 1x
- Category: Dessert
- Method: Baking
- Cuisine: American
- Diet: Vegetarian
Ingredients
- 1 cup unsalted butter, softened
- 1 cup granulated sugar
- 1 cup brown sugar, packed
- 2 large eggs
- 2 teaspoons vanilla extract
- 3 cups all-purpose flour
- 2/3 cup cocoa powder
- 1 teaspoon baking powder
- 1/2 teaspoon salt
- 1 cup chocolate chips
Instructions
- Preheat your oven to 350°F (175°C) and line a baking sheet with parchment paper.
- In a large bowl, cream together the butter, granulated sugar, and brown sugar until light and fluffy.
- Beat in the eggs, one at a time, then stir in the vanilla.
- In a separate bowl, whisk together the flour, cocoa powder, baking powder, and salt.
- Gradually add the dry ingredients to the wet ingredients and mix until combined.
- Roll dough into balls and place them on the prepared baking sheet.
- Use your thumb or a small spoon to create an indentation in the center of each cookie.
- Bake for 12-15 minutes, then allow to cool on a wire rack.
- Melt the chocolate chips and fill the indentations with the chocolate.
Notes
- For added flavor, you can sprinkle sea salt on top of the melted chocolate.
- These cookies can be stored in an airtight container for up to a week.
Nutrition
- Serving Size: 2 cookies
- Calories: 150
- Sugar: 12g
- Sodium: 60mg
- Fat: 7g
- Saturated Fat: 4g
- Unsaturated Fat: 3g
- Trans Fat: 0g
- Carbohydrates: 20g
- Fiber: 1g
- Protein: 2g
- Cholesterol: 30mg
Keywords: Chocolate Thumbprint Cookies